
Samantha’s tips on interior and lifestyle photography.

Work with the light in your home
Any photographer will tell you that light is everything. However, light changes colour and strength as the day progresses and learning to notice these changes will help you decide when the beat time might be for your shoot. For example, early morning light tends to be cooler and stark, with blue tones and if the sun is out it’s hard and directional. Whereas, afternoon light has a warmer feel with yellow and orange tones.
I prefer to keep a warmer tone to my imagery across the board, so shooting in the later afternoon works for me (time of year dependant). That said, you can always add a little warmth during the editing process and certainly correct any white balance issues you may have encountered.
“I won’t go down the white balance or shutter speed rabbit hole in this post as I don’t want to complicate things too much, but that’s the thing about photography - you’ll never stop learning”.
Shoot wide (but not too wide)
If you want to capture most of your room, choose the interior photographer’s favourite focal length of around 35mm (depending on your scene). If you go too wide-angled, say 24mm you’ll find some barrel or perspective distortion and we want to avoid that where possible.
If using a smartphone camera your lens is super wide, so zoom in a little if need be, or use portrait mode but adjust the f-stop (aperture) by tapping the f in the top right corner and moving the slider that pops up at the foot of your screen until the desired depth of field is achieved. Ask yourself - do you want all or just part of the scene in focus?
Shoot from the hip
This one may sound a bit odd but try it. Any point between the centre of your chest and hip height is the best position for your camera or phone. Shooting from eye level isn’t always the preferred perspective for interior photography.
Note: if there are worktops or a tabletop in your scene you may need to try varying heights so that such items appear as natural to the eye as possible. It will always be subjective.


Aperture (f-stop)
Choose an aperture of around f/8 or higher to capture all the details. Play around until you have the desired depth of field for your taste. For a sharp throughout image, F-18 is quite possibly a better option than f-22 as lenses do have a sweet spot for clarity.
Keep yourself and your lines straight
It’s unlikely you will see a pro interior photographer sharing photographs with lines off-kilter and obvious geometry issues - this is something that can take your imagery from amateur to pro with an extra bit of effort. However, if you live in a property with leaning walls and wonky doorways (such as ours here at the cottage) then most times you’ll just have to work with what you’ve got.


More often than not, there are many “lines” in a scene. I.e. countertops, door frames, wall panelling or shelving. No matter how straight you think you’re holding your phone or camera, these lines can make your image appear skewed or if you like “wonky”. It helps to make sure you are standing squarely towards your scene and both feet firmly planted hip-width apart.
Use the grid function and match up those lines.

(Both camera and smartphone will have the grid function). Take more than one photo, altering your stance or position a little each time. It really is worth taking an extra moment to make sure your camera or phone is sitting straight and equally so if shooting video. My tripod has a built-in level, but I prefer to use a small spirit level which I sit on top of my camera to ensure everything is level before shooting.
If you’re familiar with Lightroom (app or desktop) try playing with the geometry tools to straighten or lessen any distortion of your image and don’t forget to constrain crop. Use auto geometry if you’re not sure, but be warned, you may have to make manual adjustments a sit doesn’t always work.
Get in position
Position yourself any way you can to get the shot. Lean against walls as far back as you can get, stand in the bath or shower and shoot from corners. That little bit extra might be all that you need for a great capture.
Think about your natural eye position
If you were standing in your kitchen looking at an item on your table for example, the angle your eyes are viewing the item is one which you can recreate for a pleasing image that appears natural to your brain (because you commonly see the world this way). It’s easy to do - shoot in line with your natural eye-to-table gaze - (hold your camera or phone up to your eye level and angle toward the table). You want to get that eye sweep across the scene just right, so have a few attempts until you’re happy with the angle.


I really enjoy seeing how you style your Lliving Rooms purchases so do keep tagging us @llivingrooms
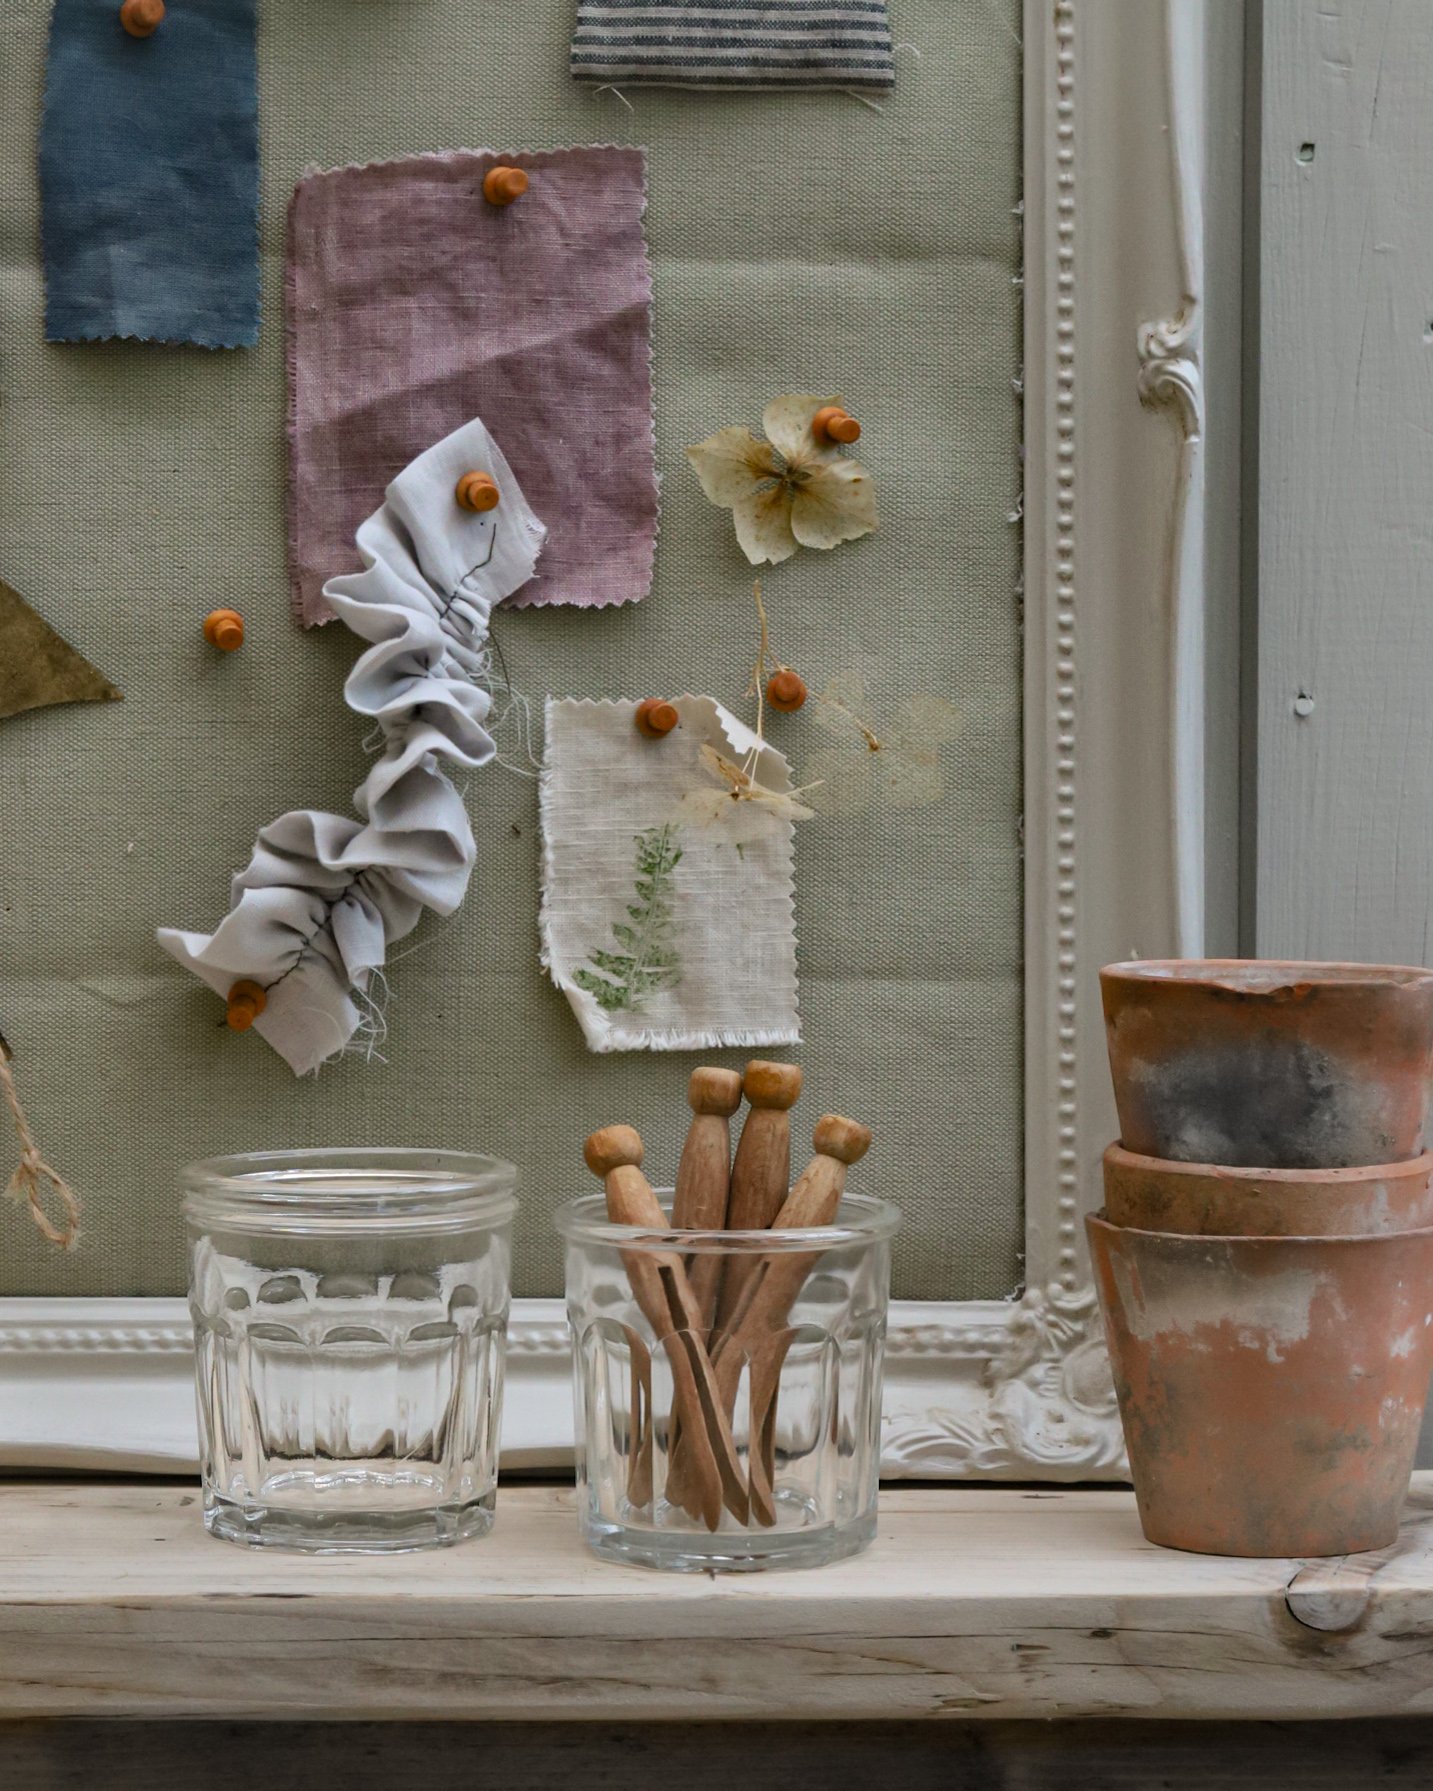
Shop the scrapbook - trellis print cushion cover | set of three zinc planters | linen napkins | Round vintage basket | French trug sale | Pot á confiture
Samantha Abbott is a lifestyle/ product photographer and videographer working in the photography, and styling industry for the past eight years, as a business owner, mentor and content creator. Find out more here.
If you would like to learn more from Samantha you can do so here